Customize the browser Context-menu in your next React app
 Photo by Ivan Bandura / @unstable_affliction / Unsplash
Have you ever thought of customizing native Browser Context-menu like whenever a user will right-click on any specific element you want some more options to be visible in the Context-menu? OK, that's not possible to add options or even remove options from Browser's native Context-menu. In that case, you have to use Javascript to customize the Context-menu. But that's a lot of tasks. Because you have to achieve the exact look and feel also with the Context-menu feature. Below are the things which you might need to take care if you want to use your JS code to handle the Context-menu
- Should appear on right-click
- Should appear in the mouse position of right-clicking
- Should hide on outside click of the trigger area
- Should have an option to show sub-menus
- And lastly styling part
Don't you think it's huge task for you to take care of all these things when there is a tide deadline?
Here comes react rctx-contextmenu plugin in the place. So we will see how we can achieve all these things without much headache in our React application.
So there is an npm package called rctx-contextmenu which solves Context-menu pain very easily. You have to just follow a few steps and you are in.
https://www.npmjs.com/package/rctx-contextmenu
Installation
Run the below command to install the package first.
npm install rctx-contextmenuUsage
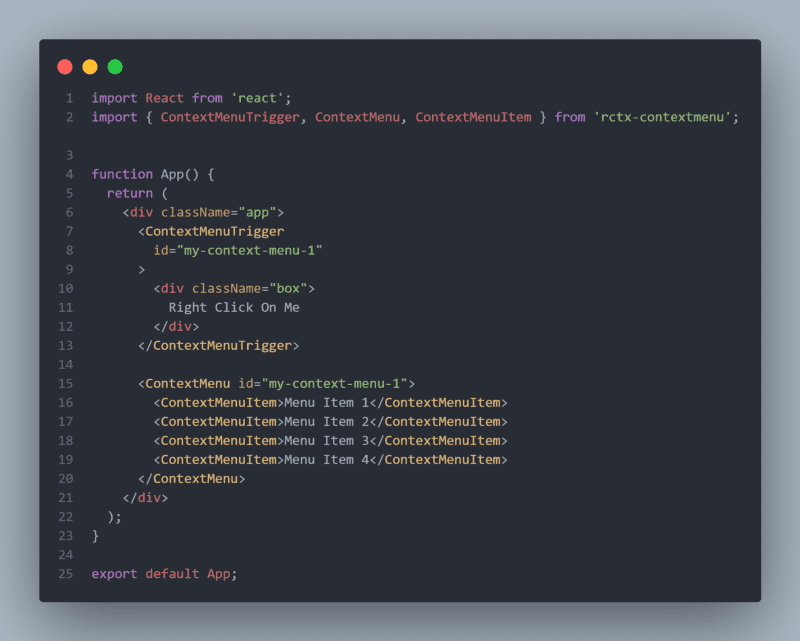
As the plugin says, in the following, there is a very basic usage code which we can use to get started
There is a lot of other APIs which this plugin offers. So I will try to explain the above code first and then will dig deep.
First of all, we are importing required packages like React and rctx-contextmenu
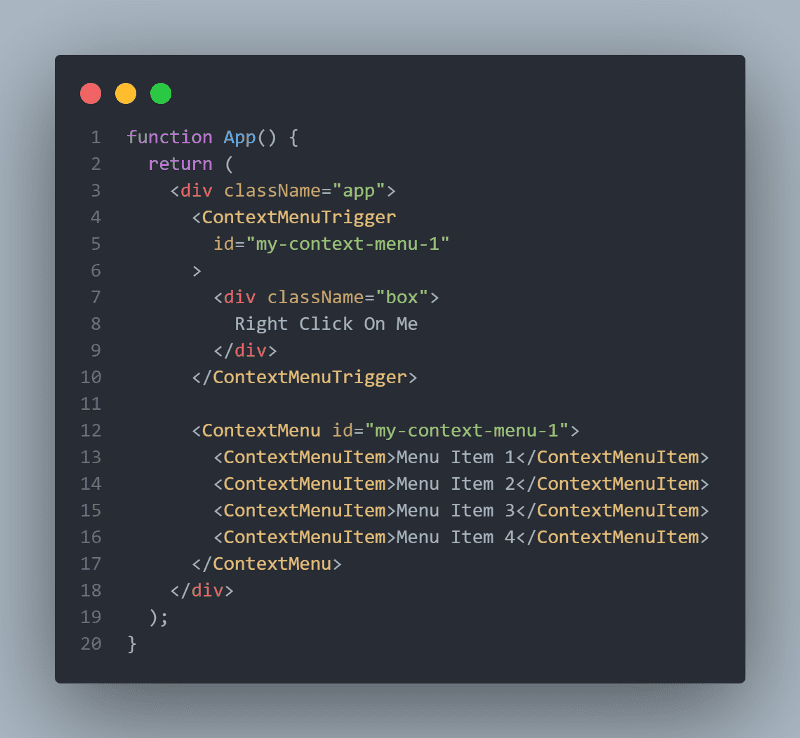
Then, we are creating the App component and inside the App component there is two main components that are actually performing the Context-menu logic. One is <ContextMenuTrigger /> and another one is <ContextMenu />.
There is a very essential option we will talk about is id. So the <ContextMenu /> and <ContextMenuTrigger /> component's id should match to work the plugin as we want.
Will come to the individual component explanation now.
<ContextMenuTrigger />
This component actually holds the trigger area or the right-click area. We can put any kind of element inside this component as per your requirement.
<ContextMenu />
This component is responsible for Context-menu items.
<ContextMenuItem />
This component is responsible for each option of Context-menu. We can put any element as a child of this component.
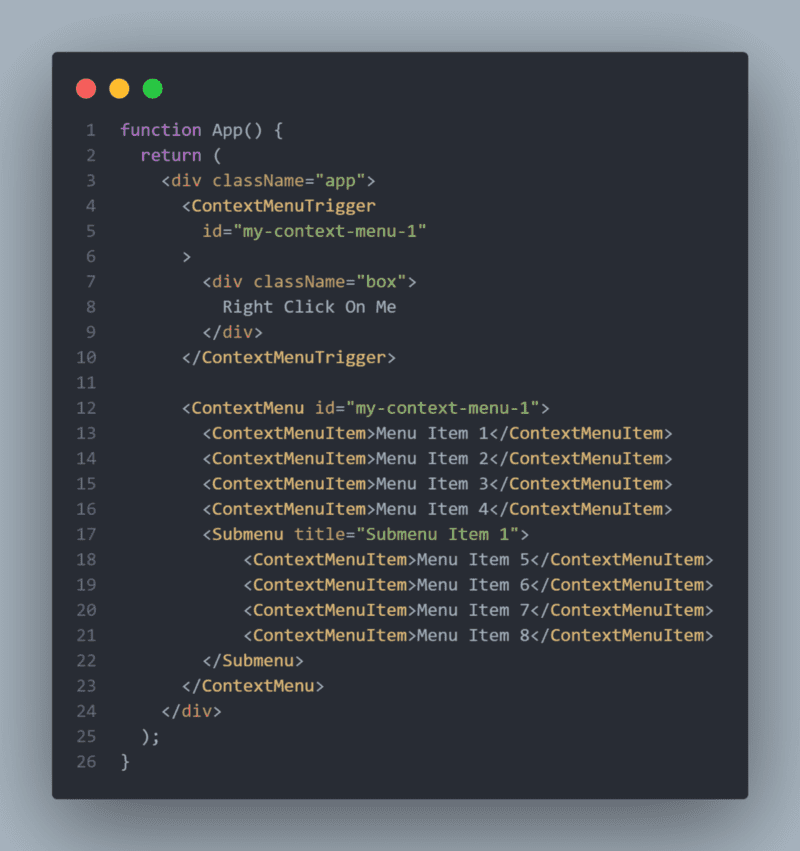
Now coming to Sub-menus. rctx-contextmenu Also supports sub-menus. For that, there is another component we have to use that is <Submenu />. Following is the code which includes sub-menus. To add <Submenu /> we have to import Submenu component from rctx-contextmenu first. Then we can use it as the following piece of code shows.
There is a lot of other APIs which we can use. I would suggest go the official package page or the GitHub repo and explore all the options.
https://github.com/reachtokish/rctx-contextmenu
Conclusion
I think we have covered pretty much very basic features but there is a lot of other features that you can explore from the official plugin page.
I hope you have liked my first ever blog. If you have really liked it please do clap and share it publicly. Thanks for reading, it means a lot to me!
Let me know what your thought on this post by messaging me on twitter or linkedin.


